Overview
The Menu Layout allows project administrators to organize project content such as reports, dashboards, and apps into a structured navigation menu on the left-hand sidebar.
A project can quickly become cluttered with numerous items, making it difficult for users to find what they need. The Menu Layout addresses this by enabling the creation of Menu Groups, which are custom categories that group related items together.
The Menu Layout also works with Custom Roles, allowing you to control which users can see specific groups and links within the project.
Getting Started
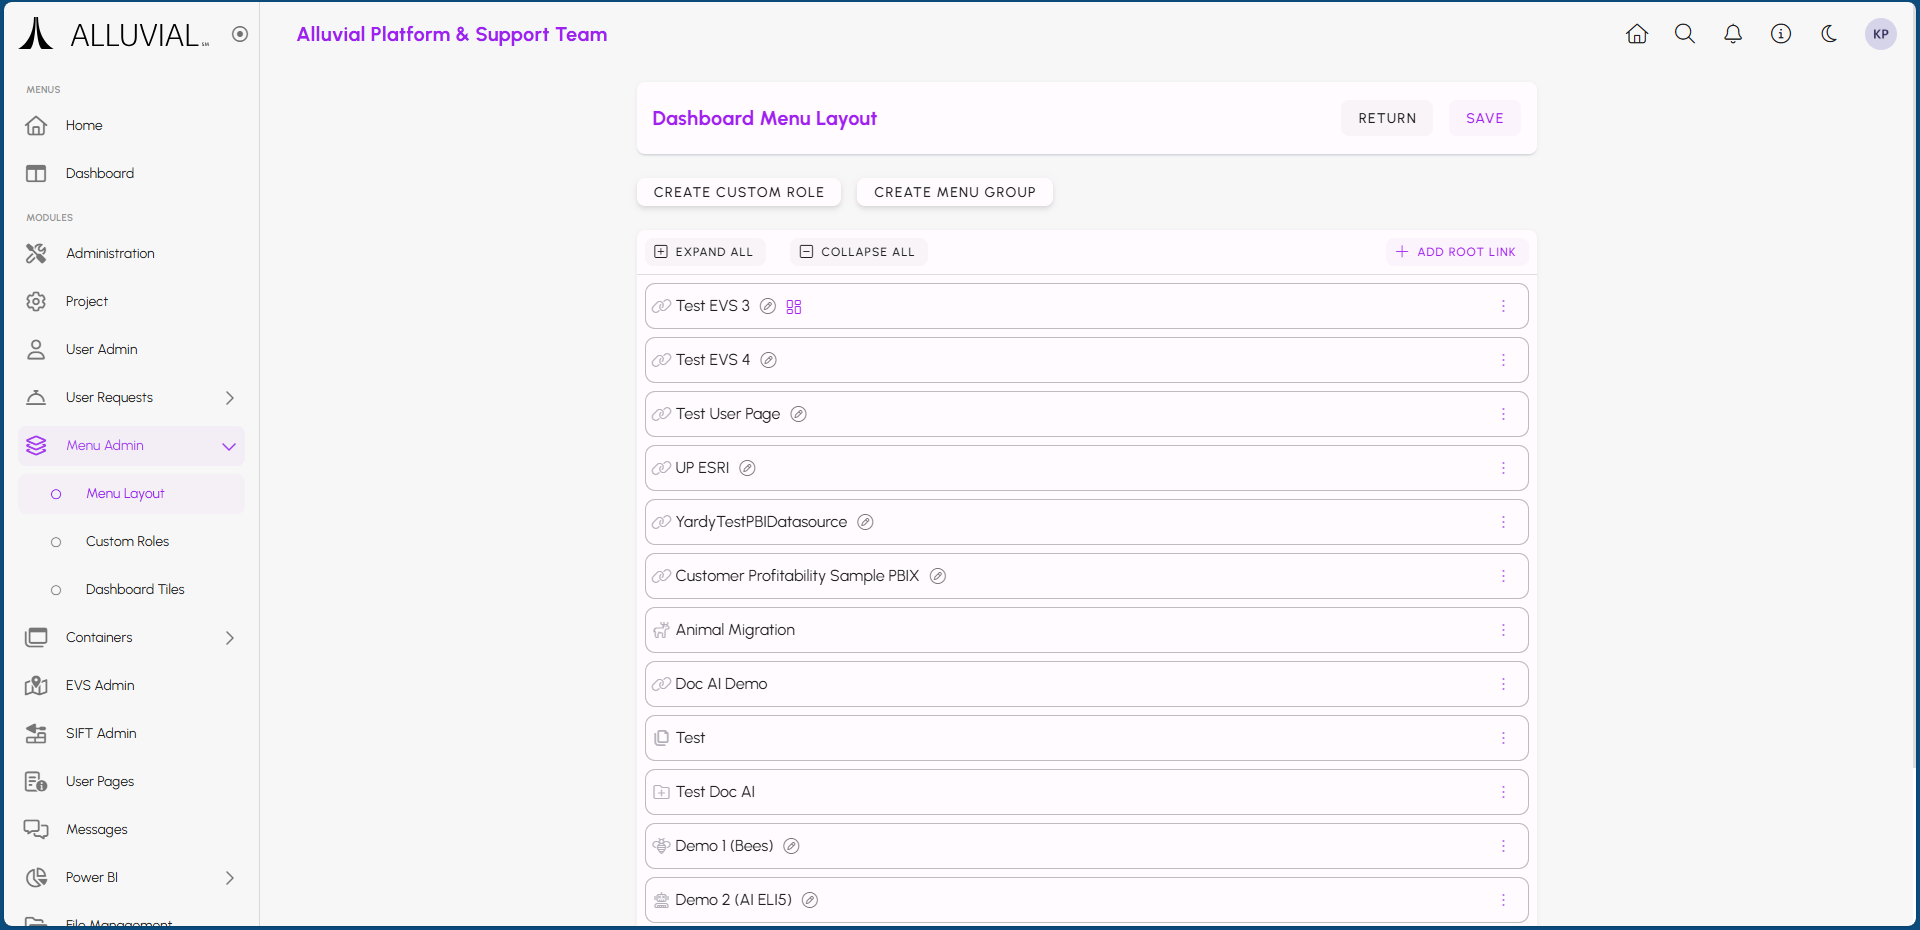
Review the Current Layout
If you haven't created any Menu Groups yet, the Menu Layout page may contain many links that are not yet organized.
You can begin organizing immediately by clicking and dragging links into the desired order.
IMPORTANT: Make sure to use the save button at the top of the page to save your changes after rearranging links or creating Menu Groups.
Core Concepts
Menu Groups
Menu Groups are custom categories that help organize related links into a cleaner, more user-friendly navigation structure.
Root Links and Ordering
Links created through + ADD ROOT LINK and newly created Menu Groups appear at the bottom of the list of items by default. You can then drag them into the desired position.
Custom Role Inheritance
When a Custom Role is applied to a Menu Group, all links within that group inherit the same access permissions. Individual links can have different Custom Roles assigned when needed, but the Custom Role assigned to the parent Menu Group takes precedence.
Common Tasks
Create a Menu Group and Organize Links
- Click CREATE MENU GROUP.
- Complete the small form that appears and click CREATE.
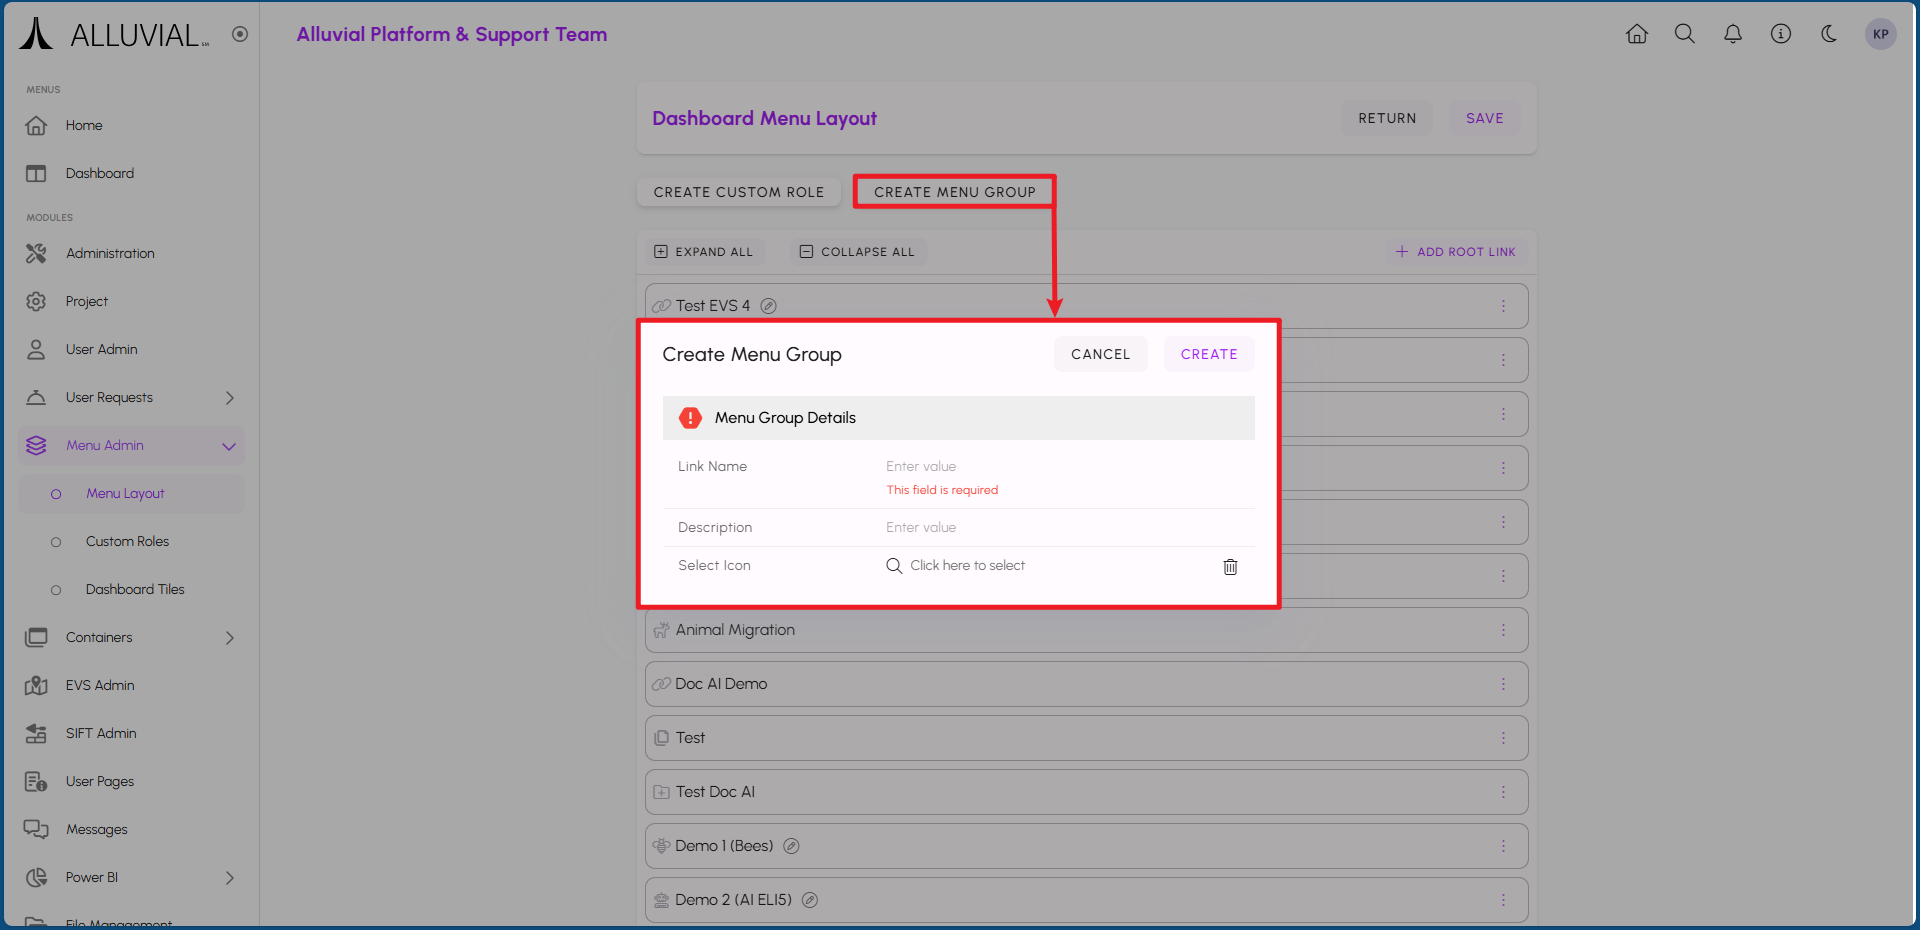
- The new Menu Group will appear at the bottom of the list.
- Drag links into the Menu Group and rearrange groups or links as needed.
IMPORTANT: Click the save button at the top of the page after reorganizing links or Menu Groups.
Add a Root Link
- Click + ADD ROOT LINK to add a new top-level link to the layout.
- The new link will appear at the bottom of the list.
- Drag the link into the desired position or into a Menu Group.
Access Control with Custom Roles
A new Custom Role can be created directly from the Menu Layout page. This allows you to define access rules for newly organized Menu Groups and links without leaving the module.
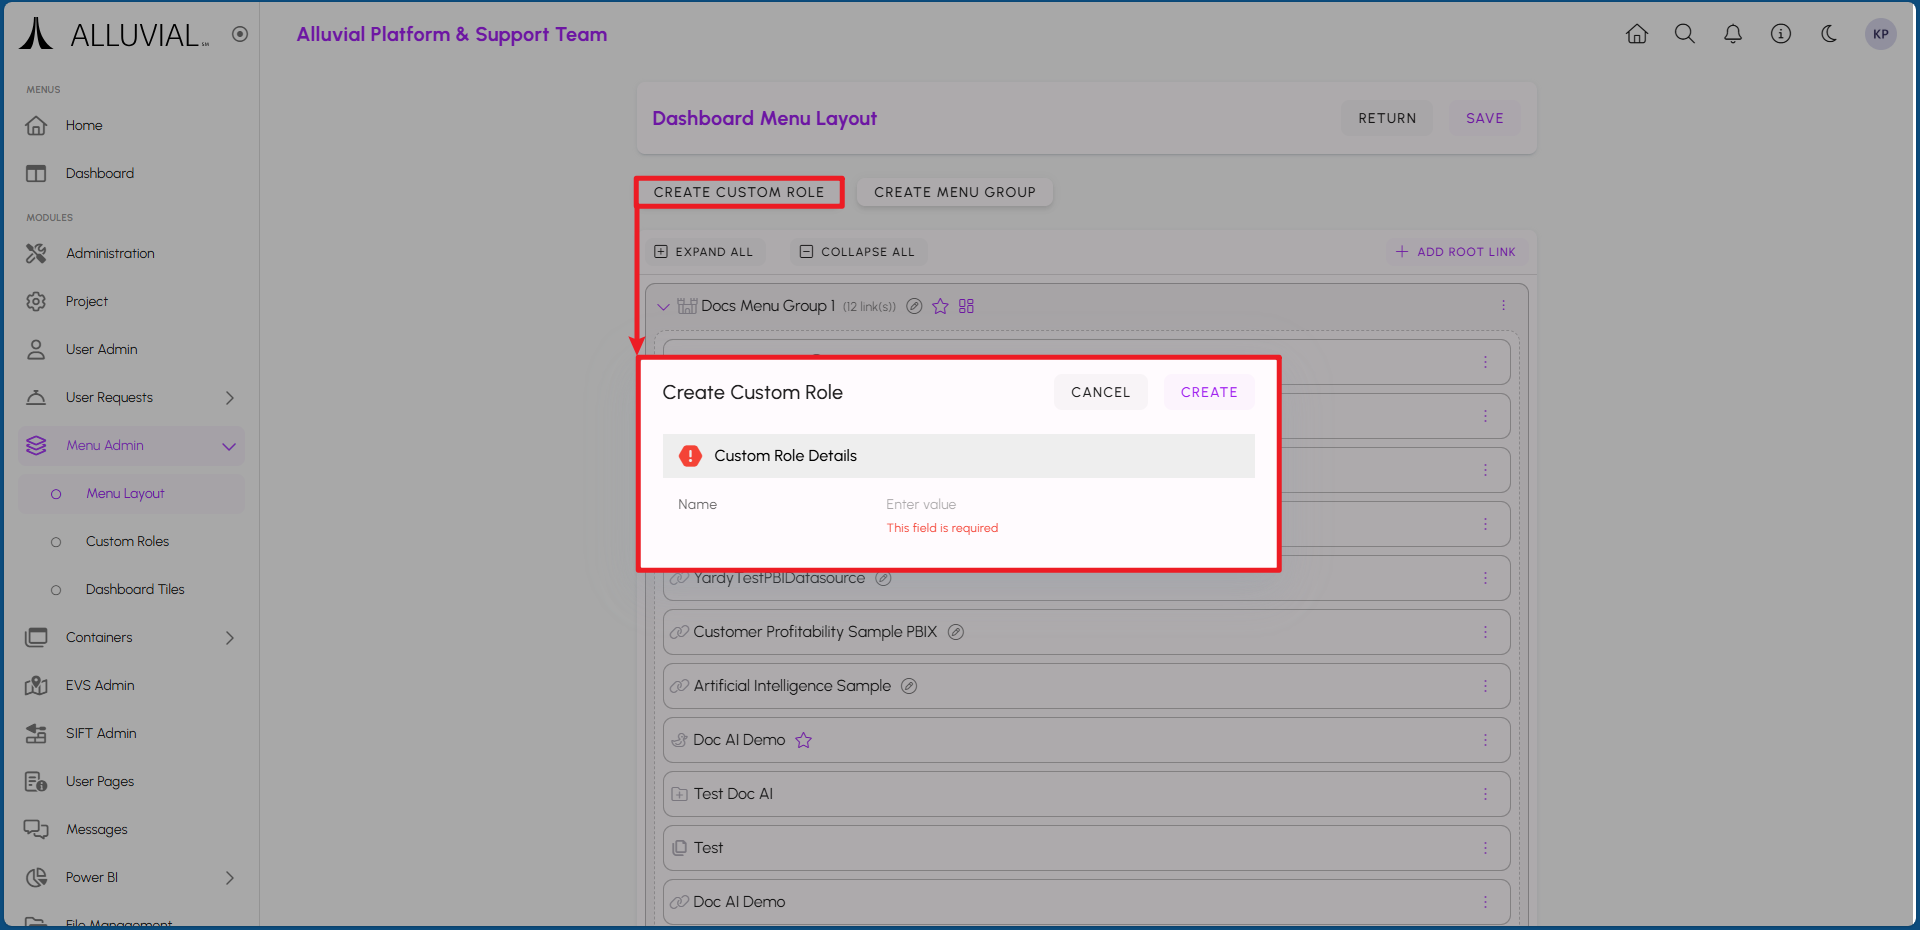
IMPORTANT: Once you click CREATE, the Custom Role is automatically saved.
Once created, the Custom Role can be assigned in Menu Layout by clicking the vertical ellipsis (three dots) on the right side of a Menu Group or link and selecting Add custom role.
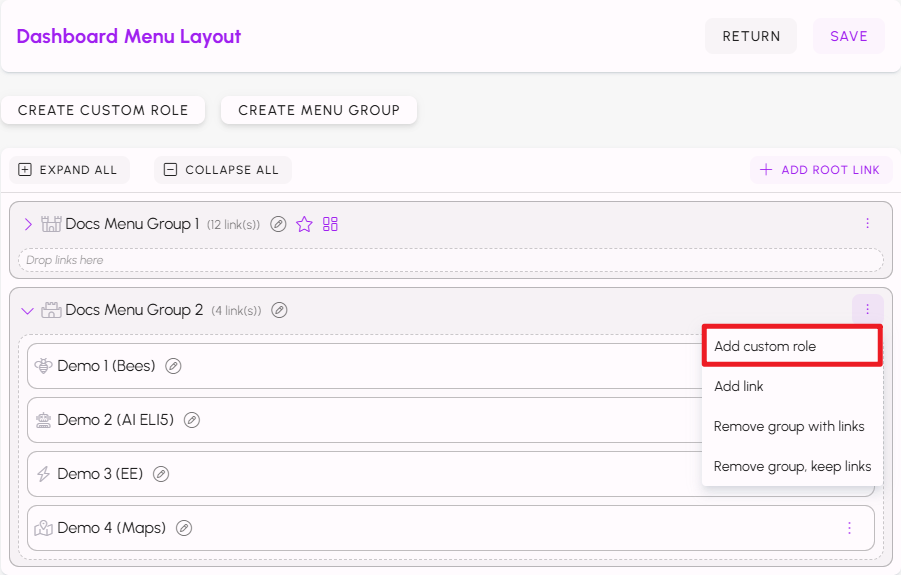
This allows you to prepare a menu structure and its visibility rules together. To make the role effective for a person, it must still be assigned to that user in User Administration.
Additional Functionality
The Menu Layout page also provides additional functionality for managing Menu Groups and links. These options allow for quick modifications after the structure is in place.
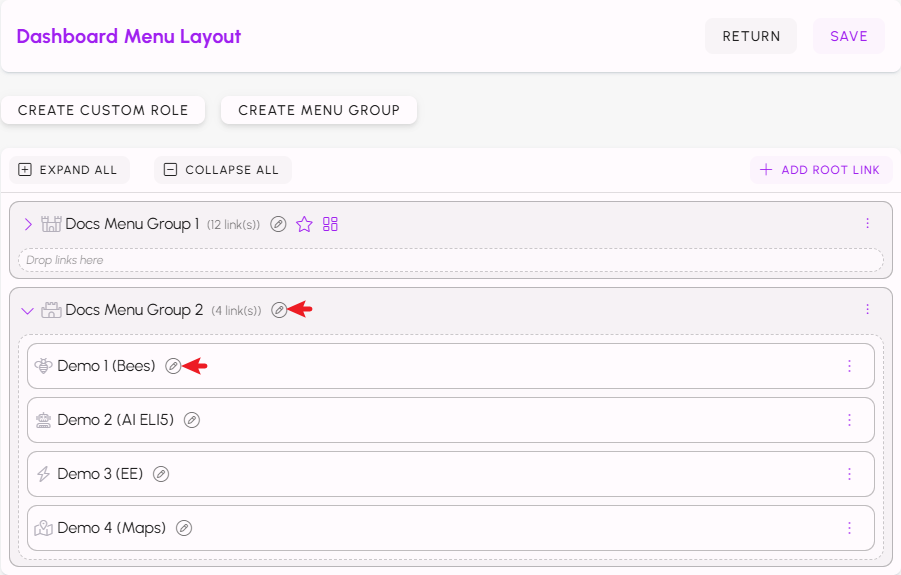
Editing Menu Groups and Links
Each Menu Group and individual link has an edit icon (pencil) next to it. Clicking this icon opens a form that allows you to modify the name and icon of the selected item.
IMPORTANT: The edit icon may not be available for certain links that are not editable through this interface.
Deleting Menu Groups and Links
Clicking on the vertical ellipsis (three dots) button located on the right side of each Menu Group or link opens a dropdown menu with varying options.
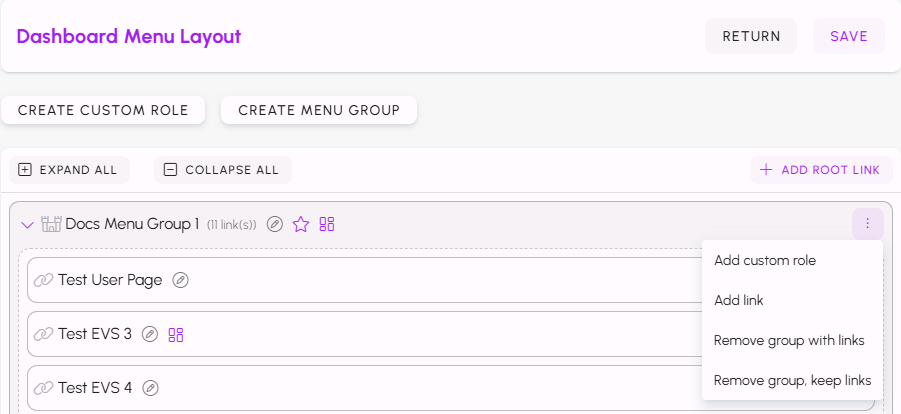
Depending on whether the selected item is a Menu Group or an individual link, the dropdown menu will present different options.
- For Menu Groups, there are two options: Remove group with links and Remove group, keep links. The first removes all of the links from the Menu Group and the group itself, while the other removes the Menu Group but keeps the links.
- For individual links, there is a single option: Remove link, which removes the link from the Menu Layout.
Remember to click the save button at the top of the page to save your changes after deleting any Menu Groups or links.
Setting a Default Page
Depending on the type of link, the option to Set as default page may be available in the dropdown menu accessed via the vertical ellipsis (three dots) button.
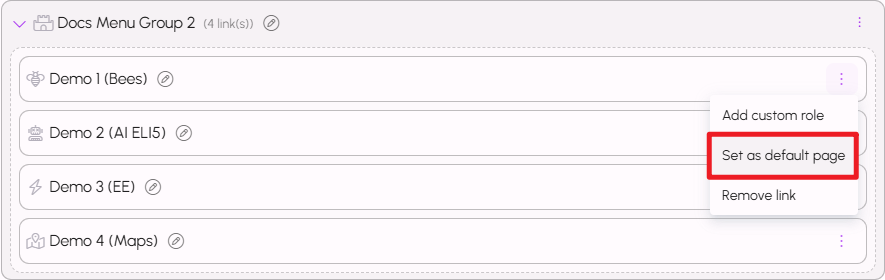
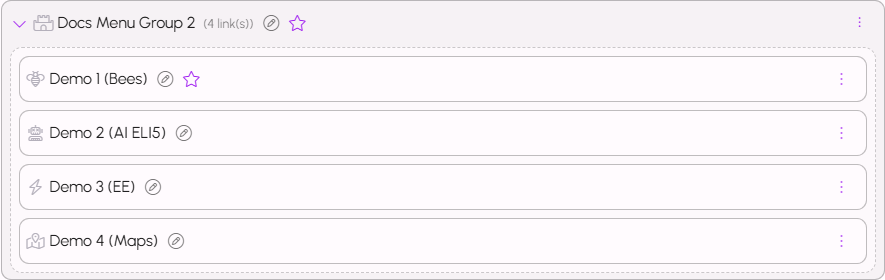
When a link is set as a default page, a star icon will appear next to it, indicating that it is the default landing page when users access the project. The star icon will also be visible on the menu group containing the default page.
Setting Dashboard Tiles
Like setting a default page, the option to Set as dashboard tile may be available in the dropdown menu accessed via the vertical ellipsis (three dots) button for dashboard links.
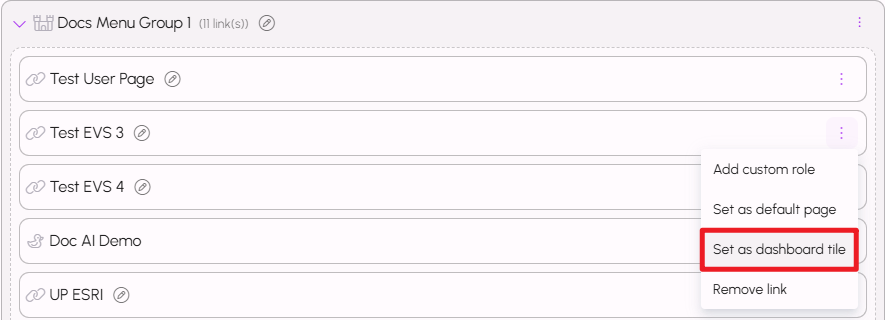
When a dashboard is set as a tile, a tile icon will appear next to it, indicating that it will be displayed as a tile on the dashboard overview page. The tile icon will also be visible on the menu group containing the tile.