Overview
Dashboard Tiles allow project owners and project administrators to organize and personalize Alluvial projects.
When used alongside Menu Groups, they provide greater control over how content is displayed to project users.
IMPORTANT: If a project default page is set, you will not be able to view dashboard tiles. Instead, you will be redirected to the default page.
Getting Started
Dashboard Tiles can be configured for supported items in the following Alluvial modules:
Core Concepts
Item-Level Enablement
Tiles must be enabled at the item level, such as on a container, EVS, or Power BI item form. The Dashboard Tiles page does not create tiles by itself; it lists and manages items that have already been configured as tiles.
Blank Dashboard Tiles Page
If no items are enabled as tiles, the Dashboard Tiles admin page will appear blank.
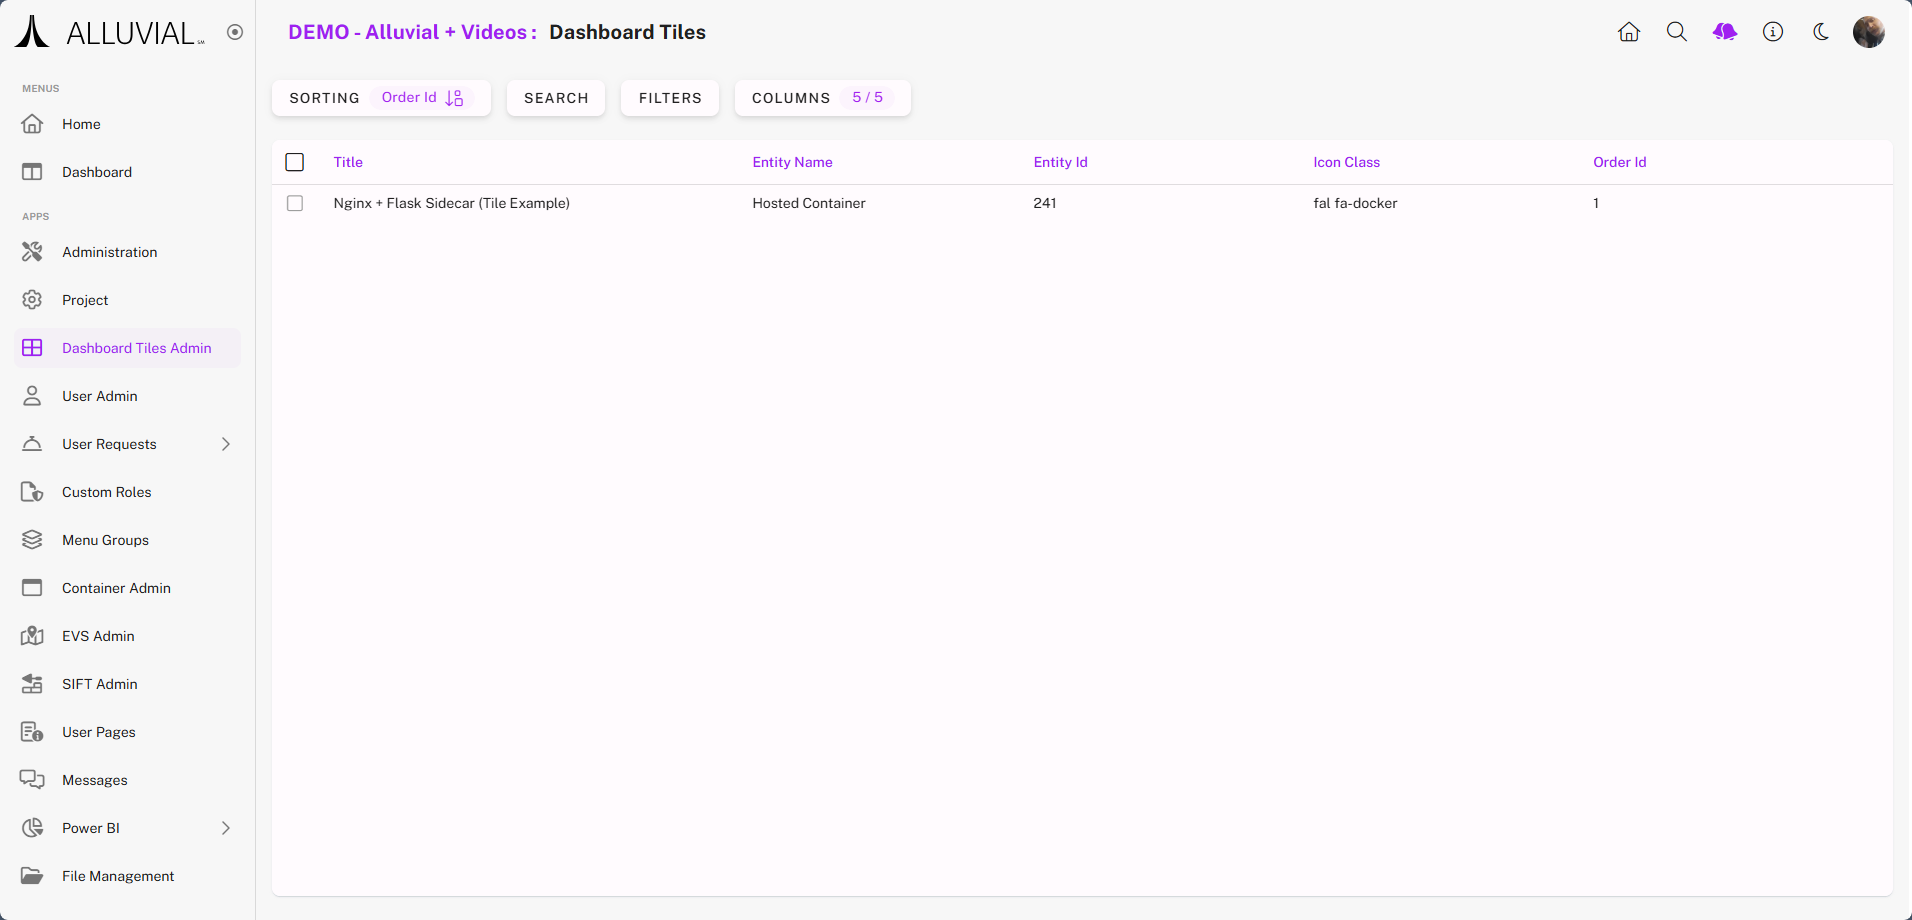
Central Management
The Dashboard Tiles admin page serves as a central location for managing all configured tiles.
Common Tasks
Configure an Item as a Dashboard Tile
Although the process is similar for Power BI and EVS, this example uses a container.
- On the Containerized Apps admin page, confirm that your containerized applications are configured.
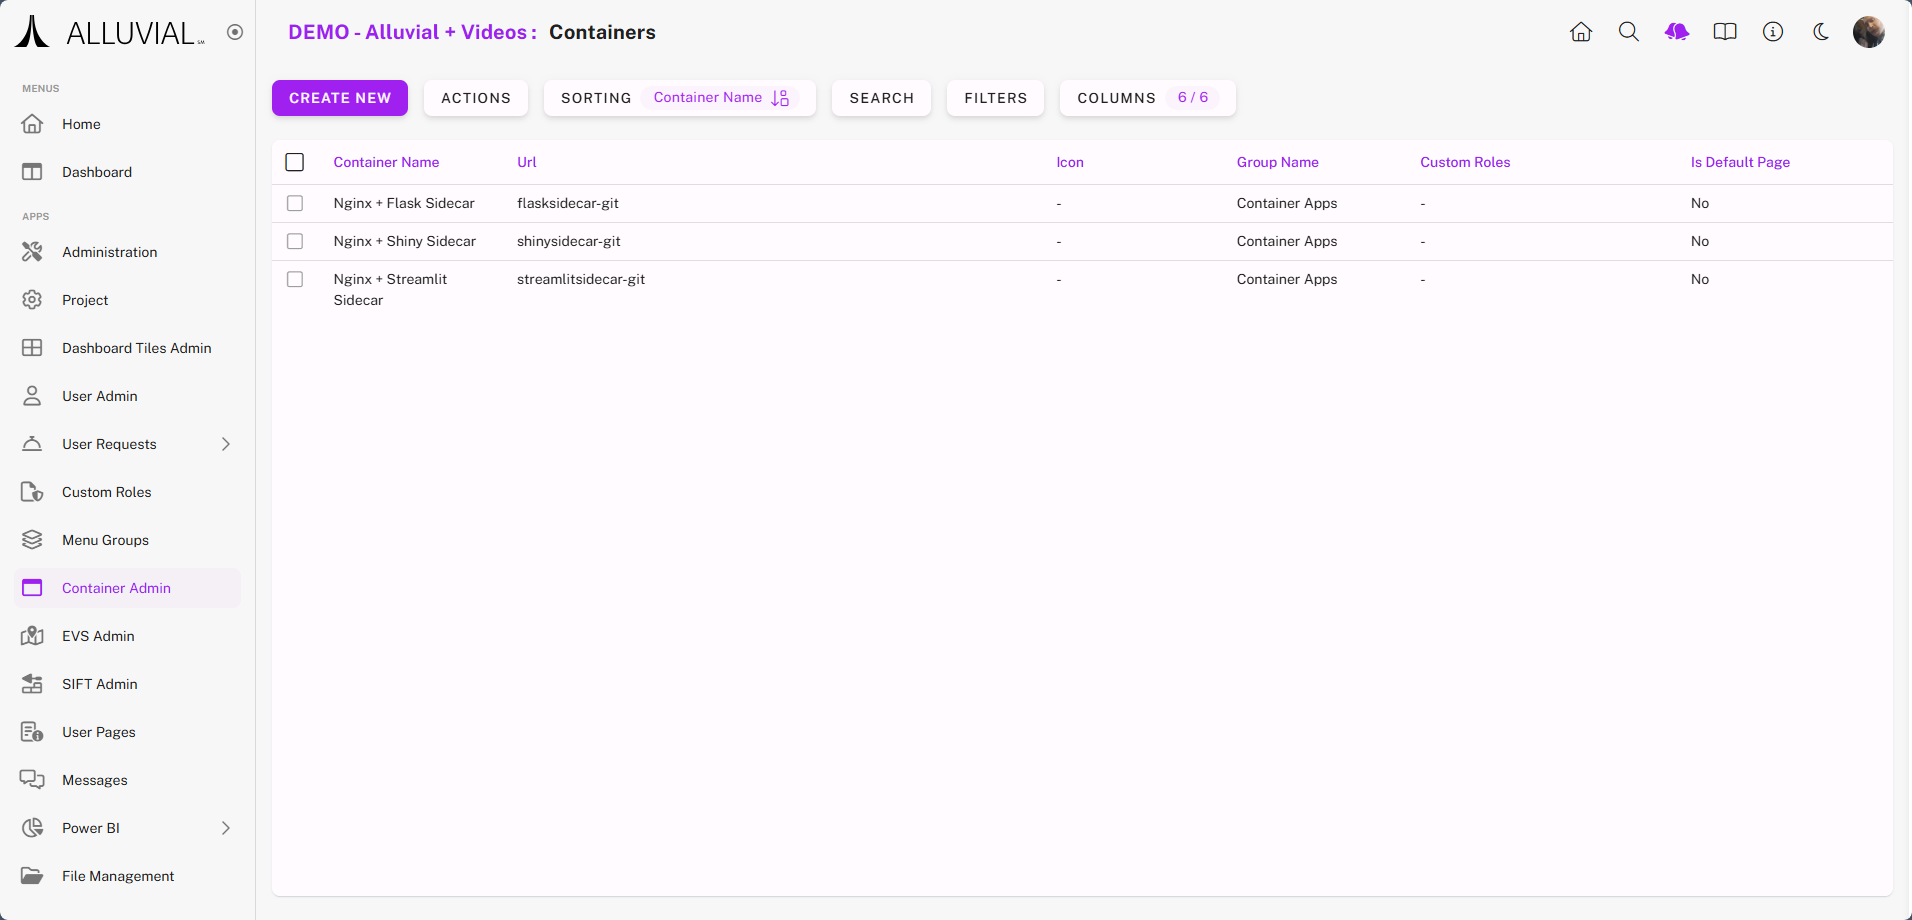
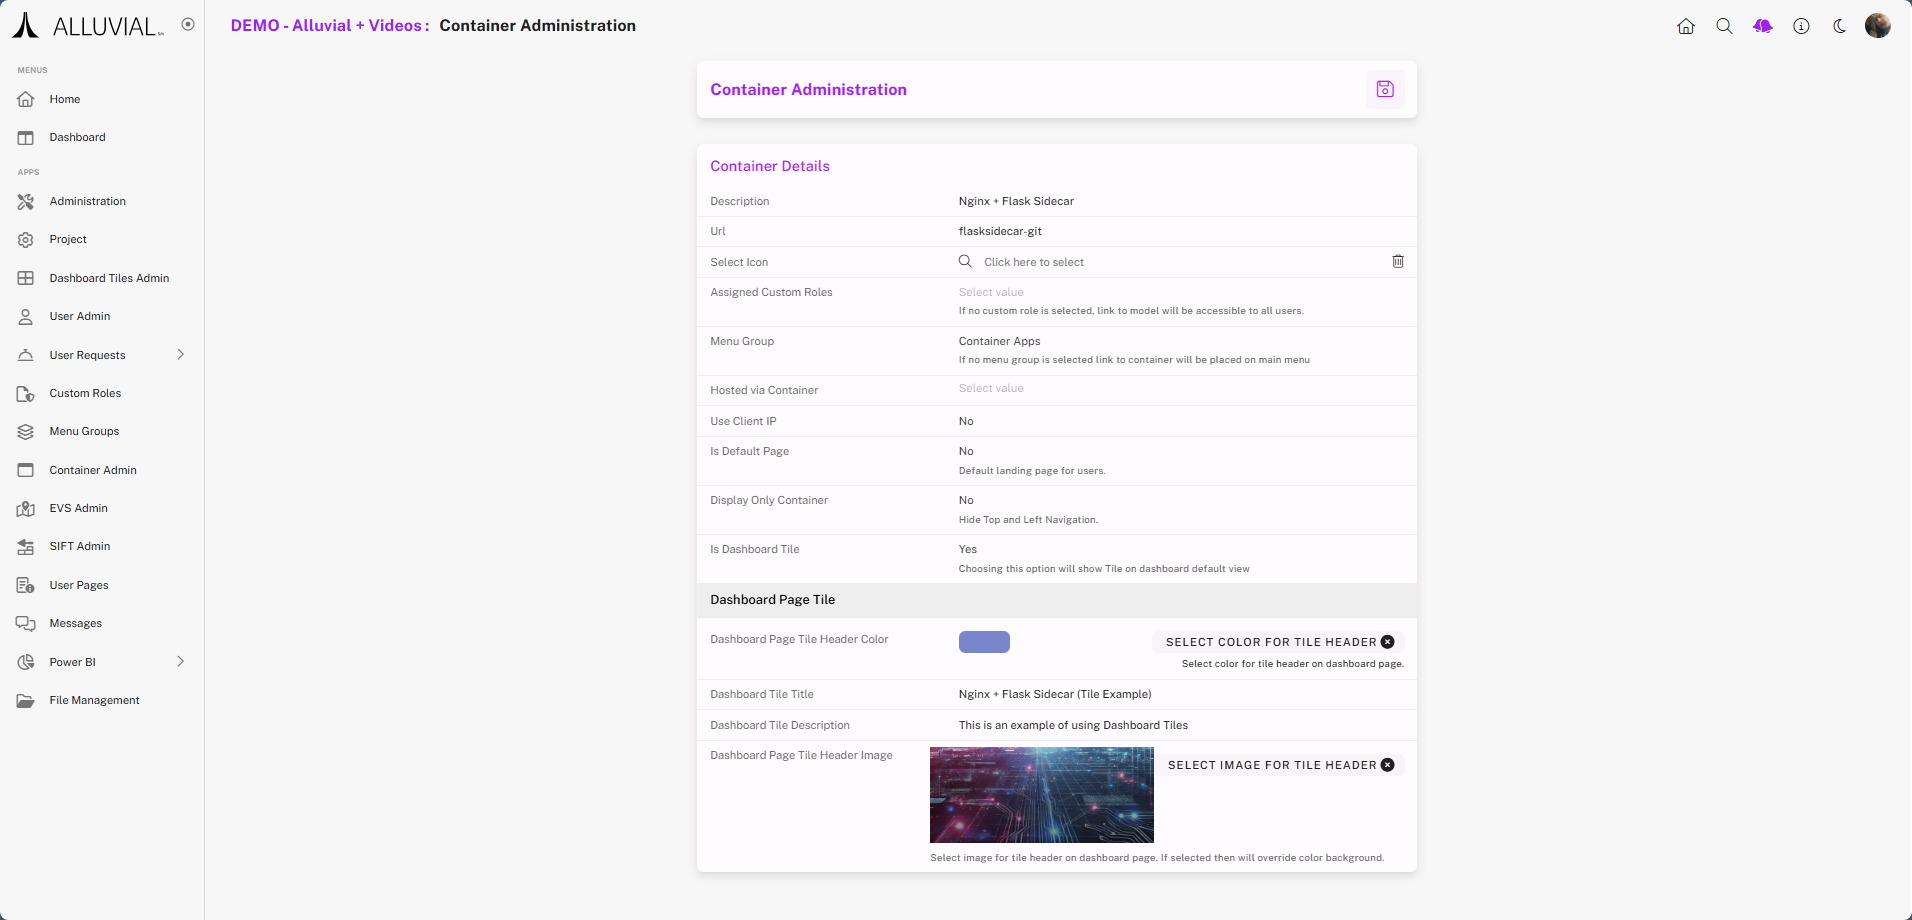
- Click an item to open its configuration form.
- Enable Dashboard Tile by setting the option to Yes.
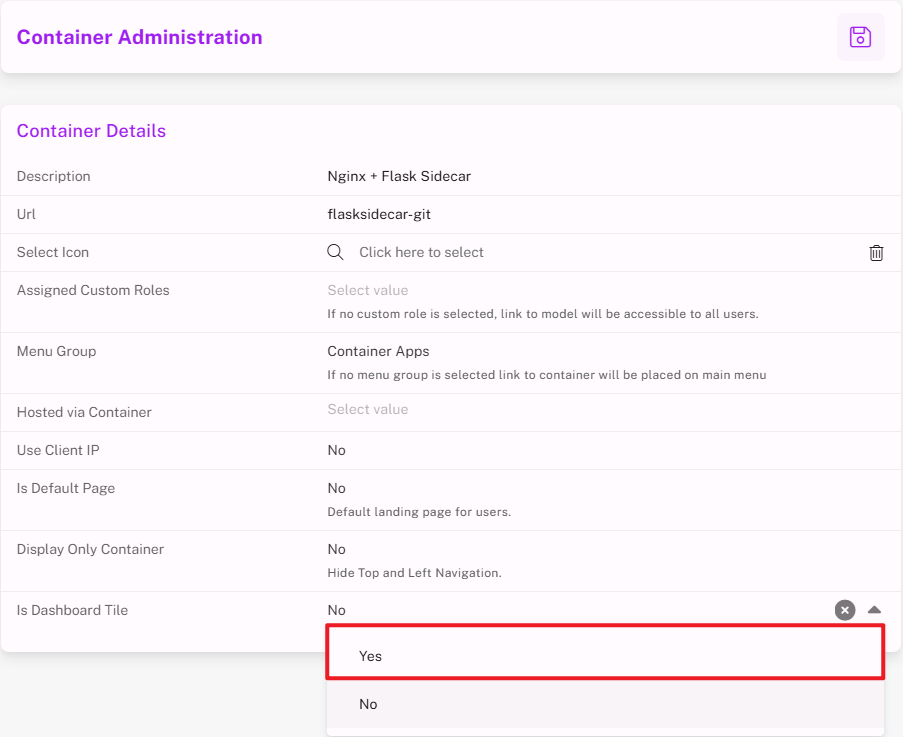
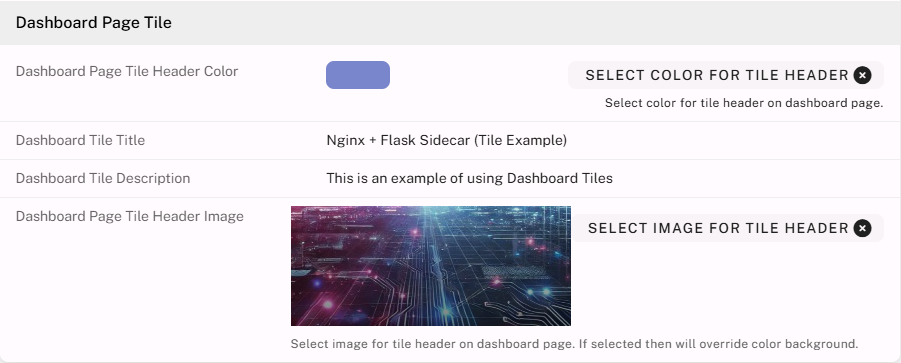
- Once enabled, additional tile configuration fields will appear.
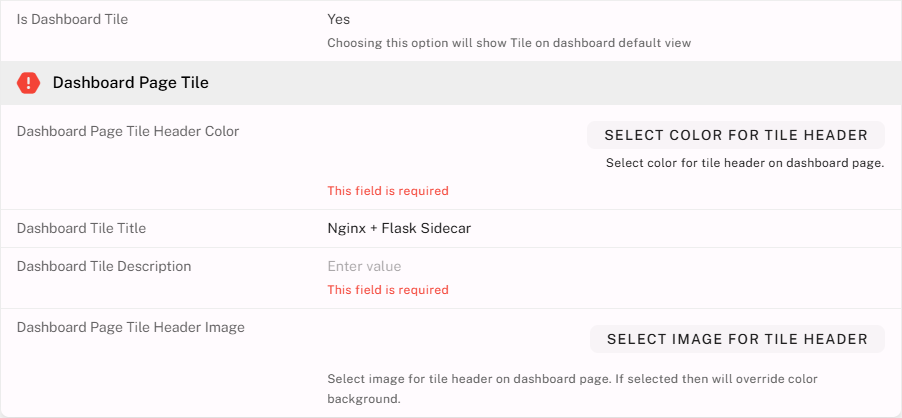
- Populate the required and optional fields, then save.
- Return to the Dashboard Tiles admin page. Your configured item should now be listed.
View and Manage Tiles
Clicking a tile entry in the Dashboard Tiles search page will take you back to its original module configuration form.
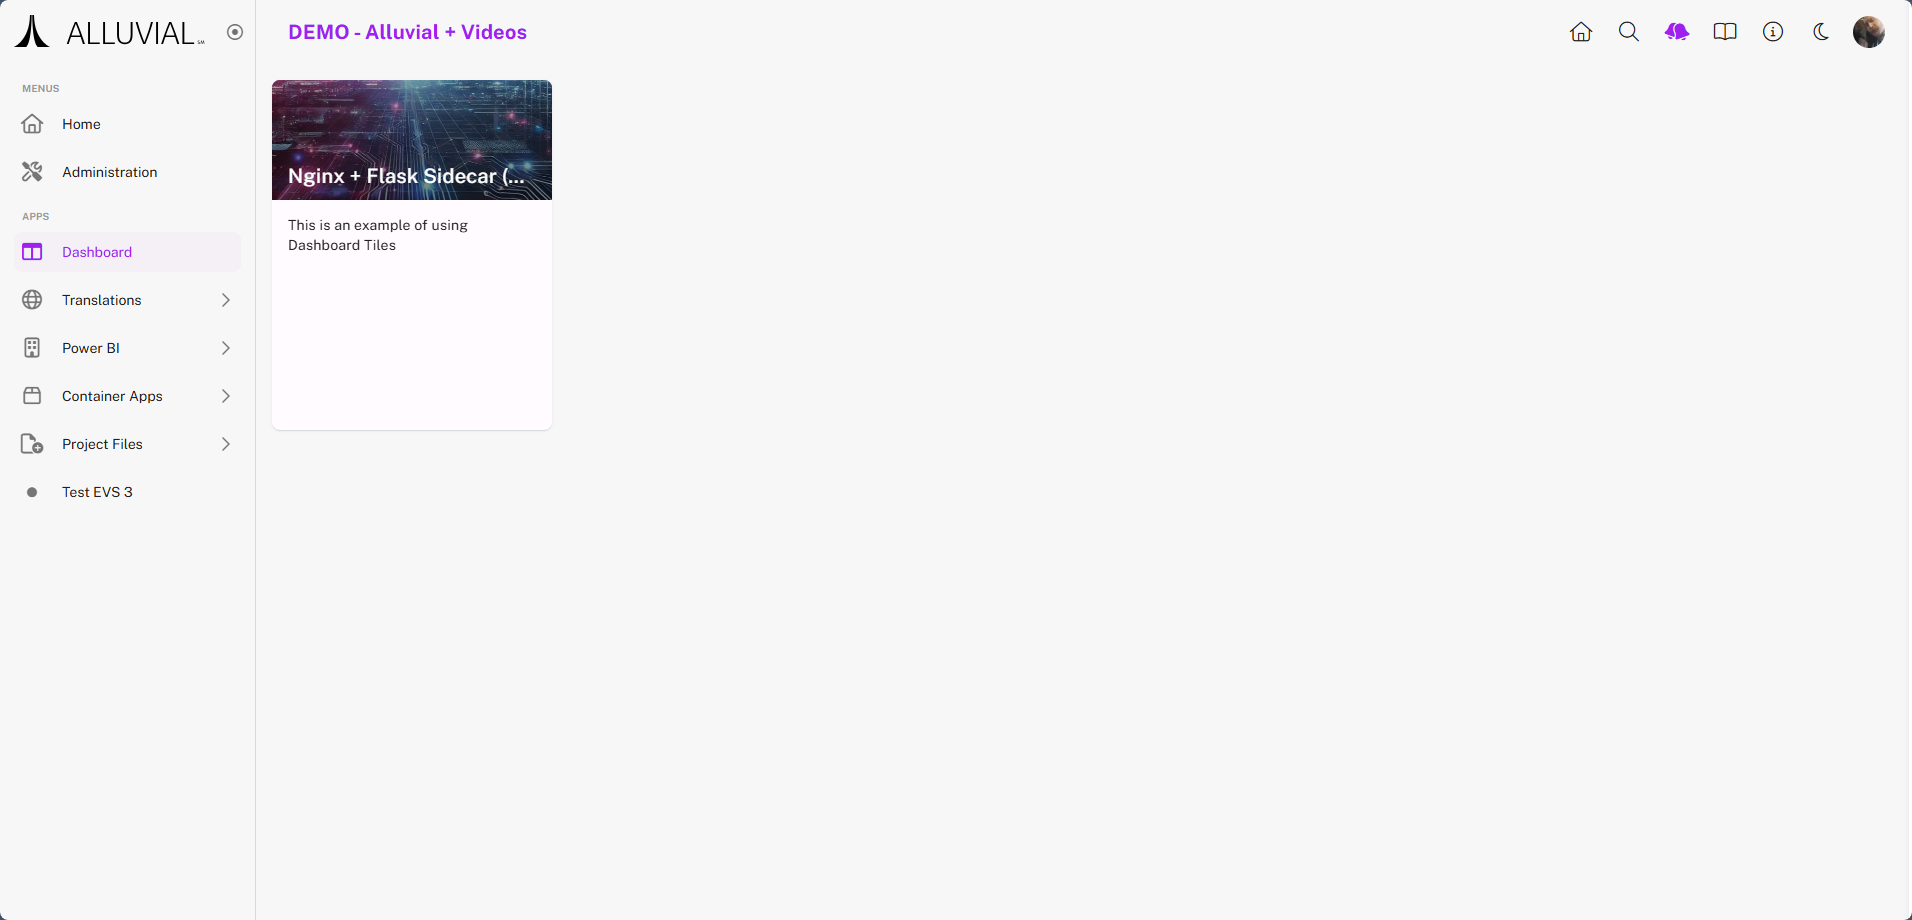
View Tiles on the Project Dashboard
When navigating to the Dashboard view, the new tile will be displayed.
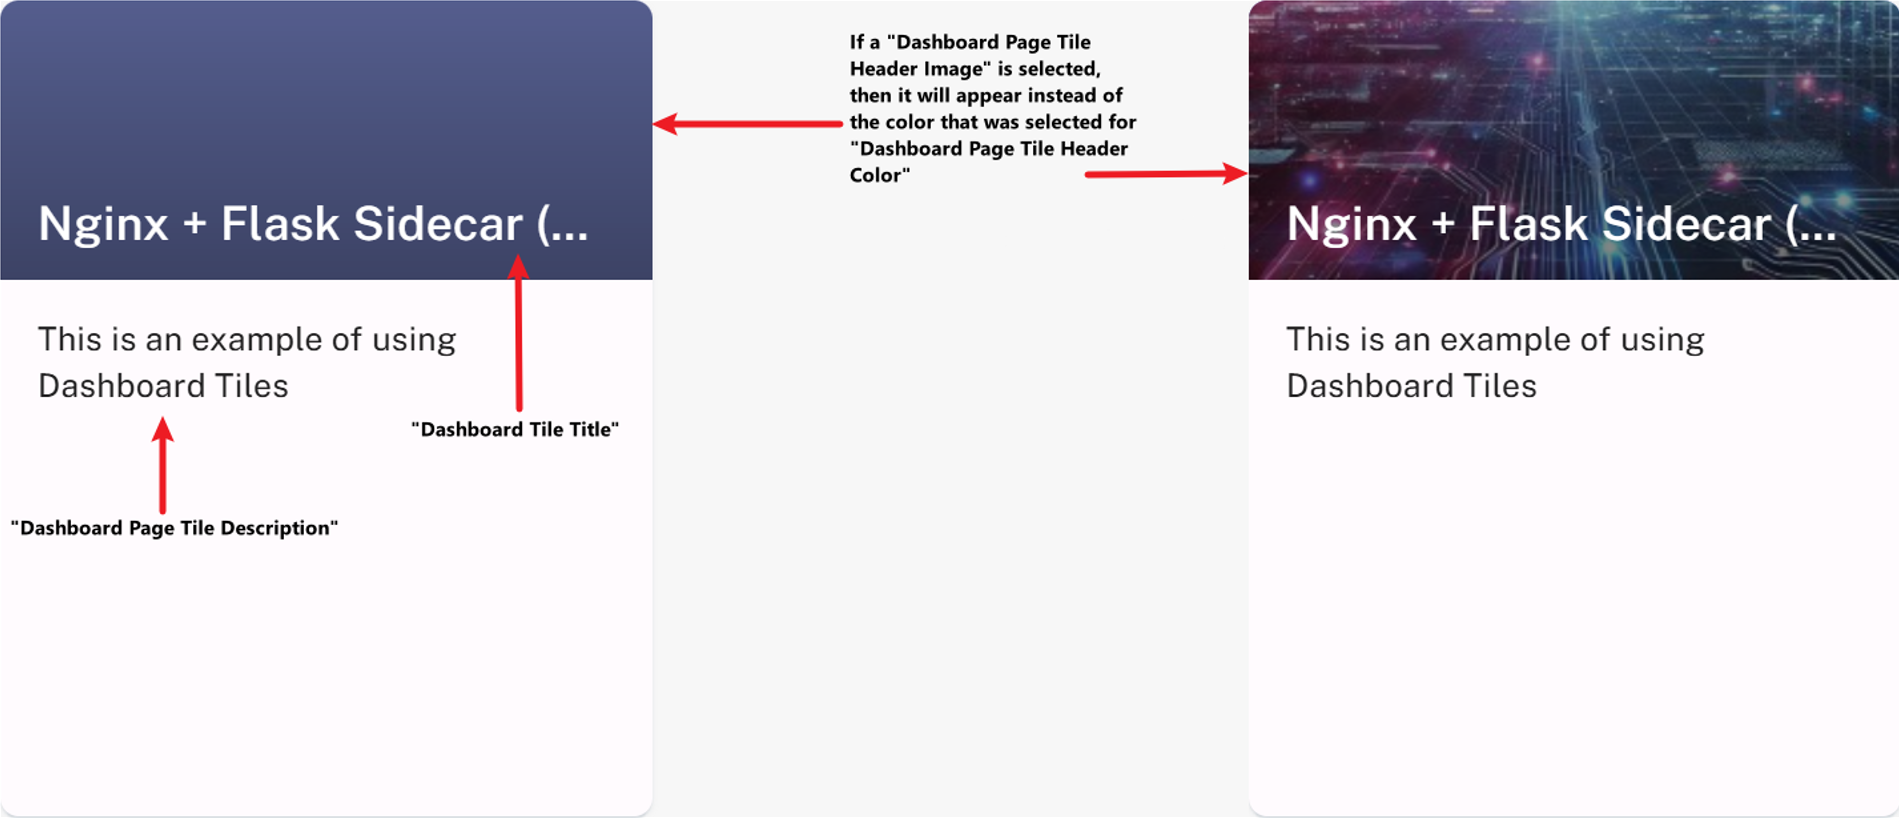
Additional Functionality
Tile Anatomy